“`html
How to Properly Make a Paper Hat: Step-by-Step Guide for Kids in 2025
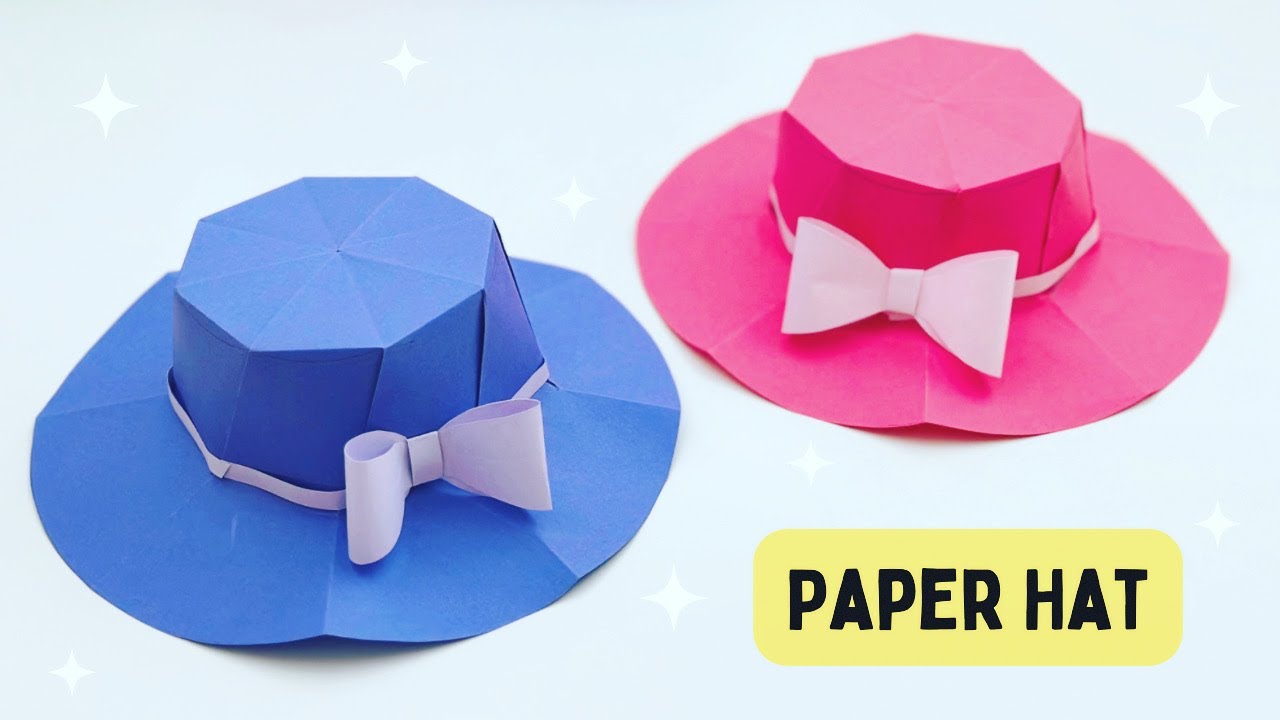
Creating a fun and festive paper hat is a delightful activity for kids. Not only does it stimulate creativity, but it also encourages hands-on skills. This step-by-step guide will teach you how to make a **paper hat** easily and creatively! From classic designs to colorful party hats, we will help you explore various **paper hat instructions**. Grab your crafting supplies, and let’s get started!
Gather Your Materials for a DIY Paper Hat
Before diving into your **DIY paper hat** project, it’s essential to gather all necessary materials. You will need a large piece of paper, scissors, and some tape. Colored papers or festive sheets can enhance the look of your **paper hat**. Optional decorations include markers, stickers, or glitter. Start by selecting a sturdy paper that’s lightweight yet firm enough to create a structured hat. Whether you’re creating a **children’s paper hat** for school or a **festive paper hat** for a party, having your materials ready simplifies the crafting process.
Choosing the Right Paper for Your Hat Design
The type of paper you choose can significantly affect your **paper hat design**. For a colorful **paper party hat**, consider using patterned scrapbook paper. Brown paper or recycled cardboard can work well for a **homemade paper hat** project if you’re aiming for a more natural look. If it’s a craft session intended for younger children, non-toxic and environment-friendly paper should be prioritized to ensure safety. Additionally, engaging kids in choosing their paper promotes creativity and interest in the project.
Essential Supplies and Tools
Utilizing the right supplies makes the crafting process smoother. Basic tools include scissors for cutting and tape or glue for assembling the hat. Rulers and pencils can help kids measure and mark their paper accurately for a well-structured **origami hat**. For embellishments on the **paper hat**, have decorative items handy: stickers, colorful ribbons, or other craft supplies to personalize their **paper party hats**. Emphasizing preparation will lead to a more enjoyable and successful crafting experience.
Step-by-Step Instructions to Make a Paper Hat
This section details how to make an **easy paper hat** through straightforward steps. Kids can follow along or be guided by an adult, fostering collaboration and enhancing learning. The process is very flexible; you can opt for a classic paper cap style or something more elaborate like an **origami hat**. The following guide simplifies the process into manageable parts, ensuring that everyone has fun while creating!
Step 1: Cutting the Paper to Size
Start by cutting a piece of paper into a rectangle. A size of approximately 22 inches by 12 inches works well for most **paper hats for kids**. This size will create a comfortable fit, enabling adjustments later. Once the paper is cut, fold the top edges inward so that they meet at the center, forming a triangle at the top of the hat. This triangular shape will give the **folding paper hat** its characteristic look, making it easy to recognize and fun to wear!
Step 2: Folding for Structure
Next, fold the bottom edge of the paper up about two inches to create a brim. This brim is crucial as it provides stability to your **paper hat design**. Secure the sides using tape. If your hat needs additional support, add extra tape along the seams. Now, you’re ready to begin decorating! Kids can get as creative as they wish, adding any crafts or designs that reflect their personality.
Step 3: Decorating Your Paper Hat
Now comes the most exciting part: decoration! Kids can color the hat using markers, draw fun designs, or attach vibrant stickers. Encourage them to create their unique style by utilizing different craft supplies. You can also teach them how to attach additional lightweight paper cuts to the brim and body of the **craft paper hat** for extra flair. These moments are not only creative but help promote self-expression and confidence in their crafting skills.
Alternative Paper Hat Ideas and Variations
Once you and your children master the basic **paper hat instructions**, explore various styles and designs. From **colorful paper hats** to themed party caps, the options are limitless. Each variation can serve different occasions, making hats ideal for holidays, birthdays, or just a sunny day full of outdoor fun!
Creating Festive Party Paper Hats
For a **fun paper hat** suitable for celebrations, use themed paper such as polka dots or stripes. Cut these sheets into specific shapes such as stars or hearts. Then customize with colorful ribbons that can be glued to the edges, adding a festive flair. Kids will love creating party essentials like this with easy steps, making them feel involved in the celebration.
Unique DIY Origami Hats for Special Occasions
For parents wanting to introduce more skill, show your kids how to fold an **origami hat**. Follow a step-by-step tutorial found easily online or in crafting books. They will learn new folding techniques while creating a visual masterpiece that they can wear proudly. This project promotes problem-solving skills as they learn to follow instructions carefully, enhancing their cognitive abilities while enjoying the process.
How to Wear and Share Your Paper Hat
Once your **paper hats** are complete, it’s time to wear or share them! Encourage the children to showcase their creativity by wearing their **paper hat creations** proudly. This can lead to fun group gatherings where kids flaunt their unique designs. Additionally, consider hosting a small parade for the **paper party hats**, helping to build their confidence and creating cherished memories.!
Displaying Your Creation
After crafting and wearing their hats, find ways to display the hats. Use them as room decorations or add them to the party supplies area creatively. Encourage kids to showcase their work by providing them with the opportunity to tell the story of what inspired their **paper hat** design. This is a fantastic way to boost their communication skills while sharing a smile!
A Fun Variation: Creating a Hat with Friends
Set up a crafting day where friends can come together to make **paper hats**. This not only multiplies the fun but teaches teamwork and collaboration. Kids can trade ideas, assist in creating different styles, and even host mini fashion shows to model their creations. This social aspect of crafting enhances interpersonal skills and fosters stronger friendships!
Key Takeaways
- Gather all necessary materials before starting your **paper hat project**.
- Choosing the right paper can enhance the **paper hat design**.
- Follow a simple step-by-step guide to create a variety of **fun paper hats**.
- Encourage creativity through personal decoration.
- Involve friends for an interactive crafting experience that builds social skills.
FAQ
1. What type of paper is best for making a **paper hat**?
For making a quality **paper hat**, lighter craft paper or scrapbook paper works best. These types are easier to fold while providing a sturdy structure. Consider using recycled paper for an eco-friendly option when working on your **homemade paper hat**!
2. Are there any specific folding techniques I need to know for an **origami hat**?
Yes! Basic origami folding techniques can help you create intricate designs. Follow tutorials that break down the process into simple steps, ensuring even beginners can craft unique **origami hats** easily. Make sure to practice slowly and carefully!
3. Can adults join in on the **paper hat** crafting fun?
Absolutely! Crafting is a fun activity for all ages. Parents can help guide children or even forge their designs. This creates great bonding moments and an opportunity to share crafting skills across generations.
4. What are some other fun **paper hat** designs we can explore?
There are numerous designs like pirate hats, wizard hats, or superhero caps! Each requires its unique cut and folding style but can be great for themed parties. Use your imagination and customize according to the occasion!
5. How can I make my **paper hat** more festive?
Enhance your **paper hat** by using colorful decorations, cutting different shapes for embellishments, or adding shiny ribbons. Utilizing patterned paper for a vibrant base is a great start to ensuring your hat stands out at any celebration.
“`