How to Use Snipping Tool: A Comprehensive Guide for 2025
The Snipping Tool is an essential application for anyone looking to take quick and effective screenshots on Windows. Whether you’re a student, educator, or professional, **how to use snipping tool** effectively can enhance your productivity significantly. In this guide, we will explore various **snipping tool features**, tips, and techniques to ensure you unlock the full potential of this handy tool for all your screenshotting needs.
Understanding Snipping Tool Features
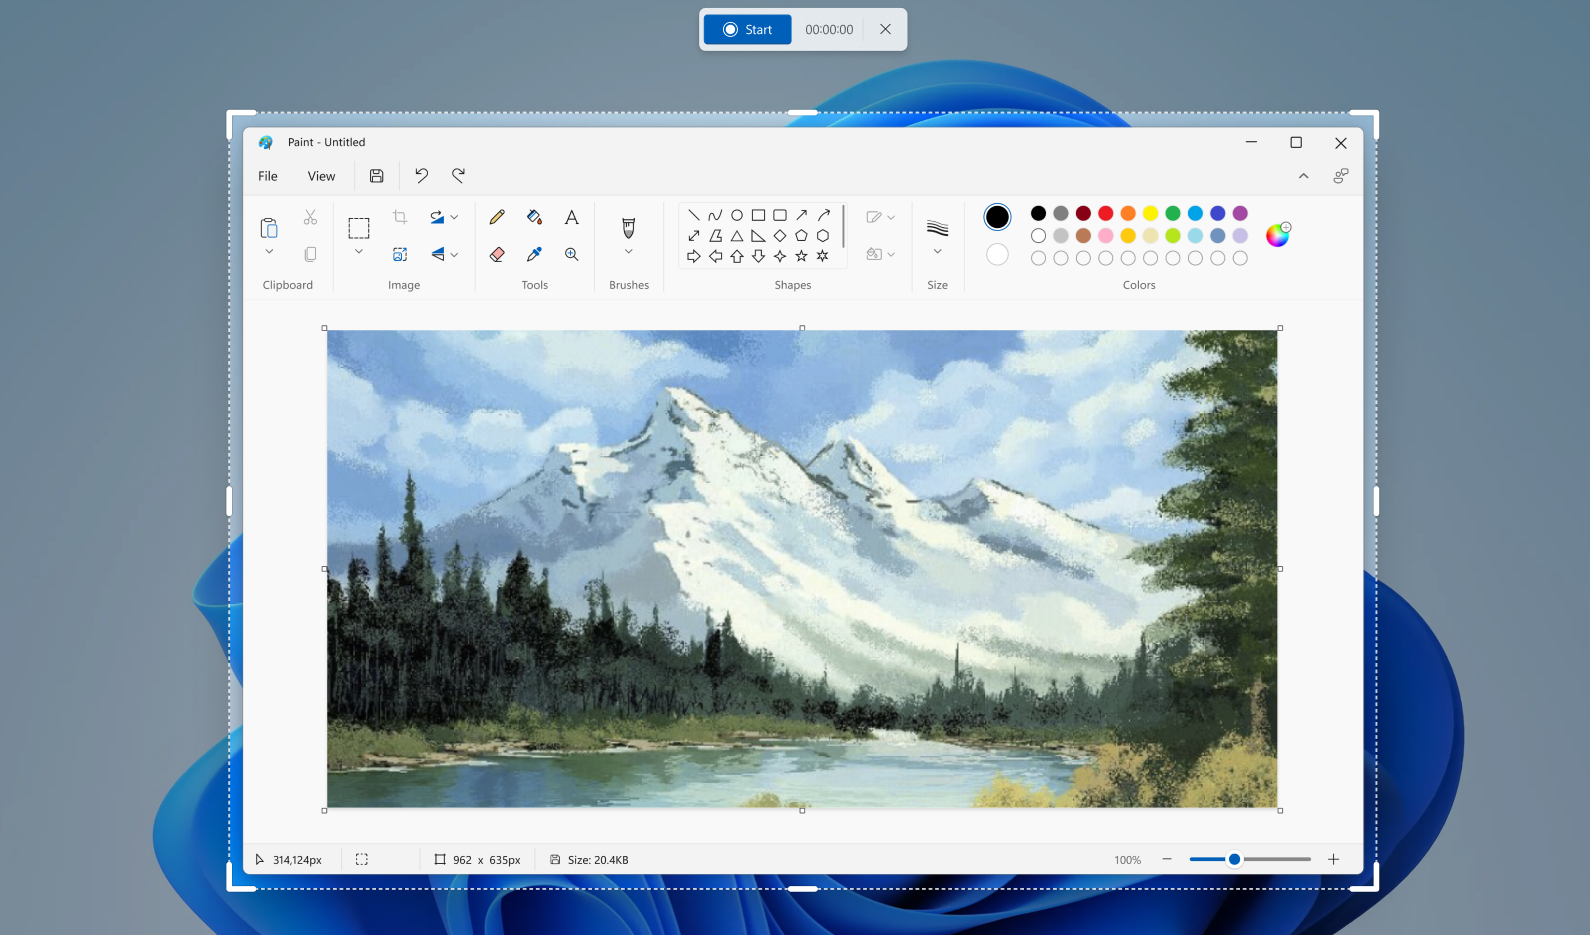
The **snipping tool** offers various **functions** that streamline the screenshot process. From different **snip types** to **annotation** capabilities, understanding these features can radically improve your screenshot quality. The tool is equipped with several **options** to tailor your snipping experience, making it versatile for every user’s needs. You can choose between Free-Form, Rectangle, Window, and Full-Screen snips, ensuring that you can capture exactly what you need, no matter the situation.
Exploring Snipping Tool Modes
The **snipping tool** allows users to select from distinct **snip types**, which makes it incredibly adaptable for different purposes. The **rectangle snip** lets you capture a rectangular area of your screen, while the **free-form snip** allows for a custom shape selection. The **window snip** captures an entire window, making it a favorite for quickly grabbing information or visuals. Lastly, the **full-screen snip** takes a screenshot of your entire display. By understanding each mode, you can select the most suitable approach for your needs, ensuring you efficiently capture screen content without fuss.
Adding Annotations to Your Snips
<pAfter capturing your image using the **snipping tool**, the next step often involves **annotation**. This feature is integral, especially for educators or professionals preparing presentations. You can use a range of editing tools provided by the snipping application, such as highlighting text or drawing shapes. Such functionalities make it easy to enhance your screenshots, allowing you to point out critical areas directly on the image, thereby improving visual communication greatly.
Snipping Tool Shortcuts for Efficiency
<pUtilizing **snipping tool shortcuts** can dramatically speed up your screenshot process. Aside from the usual mouse clicks, **keyboard shortcuts** enhance your workflow, allowing more captured images in less time. For example, pressing *Windows key + Shift + S* captures your selected area instantly. Understanding these shortcuts can save hours in your workflow, enabling a fast **screenshot process**. This is particularly useful when you need to share ongoing discussions or collaborate on projects.
Common Keyboard Shortcuts to Remember
<pUsing the **snipping tool** with keyboard shortcuts not only facilitates a quicker response time but also aids in multitasking. Aside from the combination mentioned earlier, you can also press *Alt + M* for snipping mode selection and *Ctrl + N* for creating a new snip. These shortcuts streamline your workflow, optimizing the **screenshot management** for busy users. When you become familiar with these commands, the snipping IQ markedly increases, allowing you to produce essential visuals with minimal effort.
Integrating Snipping Tool in Professional Settings
<pIn professional environments, incorporating the **snipping tool** can significantly enhance communication efficiency. For instance, during presentations or virtual meetings, you might want to highlight key points or share visual data. Instead of explaining verbally or in long emails, you can swiftly use the **snipping tool** to create snapshots that communicate much more clearly. Not only does this practice save time, but it enhances team collaboration, paving the way for concise and impactful discussions.
Editing and Saving Snips with the Snipping Tool
<pThe **snipping tool for editing** is equipped with all the essential functions you need to refine your images before sharing them. Besides basic cropping, you can also adjust color and brightness, making sure your snips represent your intended message accurately. Once edits are complete, ensuring proper **snipping tool options** for saving can safeguard the quality of your images. The tool supports several **file formats**, enabling easy sharing across different platforms.
Saving Screenshots for Future Reference
Save As* to choose your desired save location and file format—popular options include PNG and JPEG, crucial for maintaining the **image quality** required in various settings. Additionally, make sure to establish a consistent naming convention for your saved files to swiftly retrieve your archive of screenshots when necessary, especially in collaborative projects.
Analyzing the Snipping Tool Options Menu
<pThe **snipping tool options dialog** simplifies customization according to personal preferences. In this menu, you can adjust settings such as keyboard shortcuts, colors for ink tools, and any defaults for snip types. This functionality ensures that your snipping tool is tailored to suit your specific needs, whether for simplistic captures or comprehensive ones requiring elaborate annotations. Familiarizing yourself with these settings can maximize your effectiveness in capturing successful images.
Conclusion
<pAs we have explored, the **snipping tool** is an excellent Windows screenshot tool that provides the capability to harness quick screen captures efficiently. By utilizing its core features, shortcuts, and editing options, you’re setting yourself up to take screenshots that not only support your communication but also enhance productivity significantly. Now, it's time to implement these **snipping tool tips** in your day-to-day activities and revolutionize your screenshotting practices.
FAQ
1. What is the best way to enhance screenshots using the Snipping Tool?
The best way to enhance your screenshots is by using the editing features directly within the **snipping tool**. After taking a screenshot, you can highlight areas, add notes, or draw shapes to emphasize key points. These enhancement features make your images clearer and more informative.
2. Can I save my screenshots in different file formats?
Yes! The **snipping tool** allows you to save your screenshots in various formats, primarily PNG and JPEG. Choosing the right format depends on your requirements—PNG often retains better quality, while JPEG may take up less space.
3. How do I troubleshoot common issues with the Snipping Tool?
If you’re experiencing issues with the **snipping tool**, try updating your Windows OS, as many glitches can be fixed with updates. Additionally, you can reset the tool using the Windows Settings menu. If problems persist, consider uninstalling and reinstalling the application.
4. Is there a difference between Snipping Tool and Snip & Sketch?
Snipping Tool is the predecessor of Snip & Sketch, which has additional features like improved editing options and better integration with Windows notifications. However, both are useful tools for taking screenshots, with Snip & Sketch being more powerful.
5. Can I use Snipping Tool on multiple monitors?
Absolutely, the **snipping tool** functions seamlessly with multiple monitors. You can capture screenshots of an entire screen across monitors or sections from each monitor as needed, making it a versatile solution for those utilizing dual or multiple screens.
6. Are there alternatives to the Snipping Tool?
Yes, there are several alternatives to the **snipping tool**, such as Greenshot, ShareX, and PicPick. These tools often come with advanced features such as cloud sharing, enhanced editing capabilities, and support for various file formats. However, for regular use, the built-in Snipping Tool is sufficient for many users.
7. How can I share my screenshots taken with Snipping Tool?
You can easily share your screenshots by using the **snipping tool**’s built-in sharing options, or after saving them, you can upload them to email, cloud services, or messaging platforms directly. Copying the image to your clipboard allows for simple pasting into documents, chats, or emails, enhancing your sharing capabilities.