How to Properly Reset Your AirPod Pros for Optimal Performance in 2025
If you’ve experienced connectivity issues or audio problems with your AirPod Pros, a proper reset might be just what you need. In this comprehensive guide, we’ll walk you through all the necessary AirPod Pro reset instructions to help optimize their performance. Whether you’re facing common AirPods Pro issues, or simply want to restore factory settings, this article outlines everything you need to know for a successful reset.
Understanding the Need for a Reset
Many users encounter technical glitches with their AirPod Pros. Issues like AirPods Pro not connecting or audio performance problems are not uncommon. Resetting your earbuds can help resolve connectivity troubles, improve audio quality, and restore your settings. One of the primary reasons for a reset is when you switch between devices, especially when pairing to a new device. A reset not only clears the existing connections but also prepares your AirPod Pro settings for new connections.
Common Issues That Require a Reset
For many users, there are a few critical signs that alert them to the need for a factory reset AirPod Pros. These include:
- Incomplete or failed connections to devices.
- Lagging or inconsistent audio quality during playback.
- Issues with active noise cancellation or transparency modes.
If your AirPods Pro start displaying one or more of these issues, it’s essential to know the reset process to restore functionality.
The Benefits of Resetting Your AirPods Pro
Performing a reset AirPod Pro settings can provide several benefits:
- Resolution of connectivity problems, making it easier to connect your AirPods Pro to various devices.
- Improved overall audio performance, resolving issues like AirPods Pro audio issues.
- Restoring settings to optimal factory conditions, making your experiences more seamless.
Ultimately, a reset serves as an effective troubleshooting method and a way to restore your AirPods Pro to their best performance.
The AirPods Pro Reset Process
Resetting your AirPods Pro is straightforward. Below is the step-by-step AirPods Pro reset process you can follow to get your earbuds working optimally again:
Step 1: Unpair AirPods Pro from Devices
Before initiating a reset, you should unpair your AirPod Pros from any connected device. This can typically be done through the Bluetooth settings on your smartphone or tablet. Simply select your AirPods Pro from the list and choose to forget or unpair. This step is crucial for achieving a clean reset.
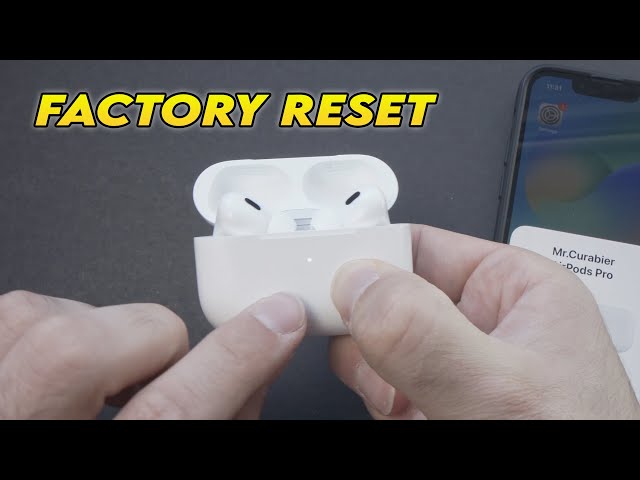
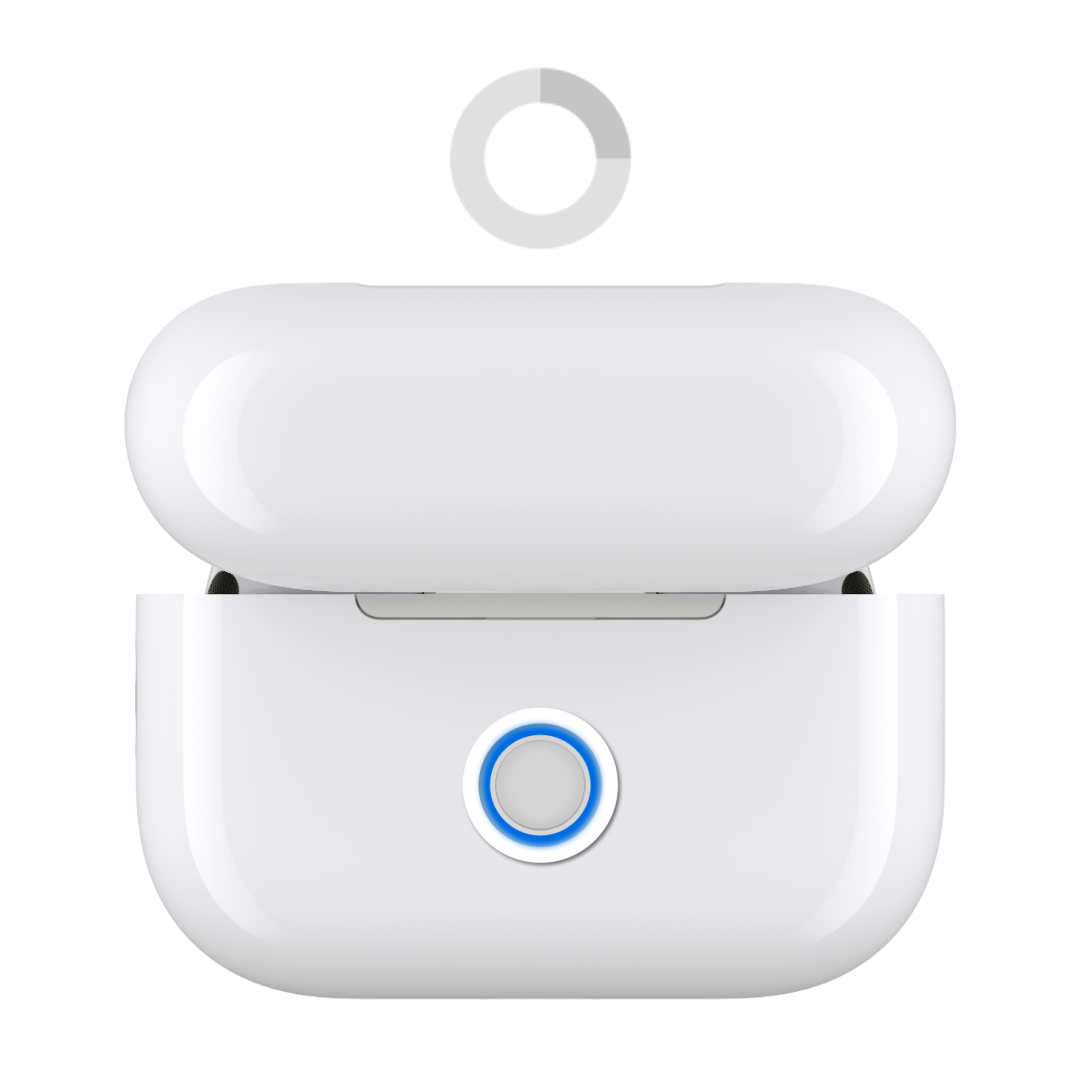
Step 2: Reset AirPods Pro Case
Place your AirPods Pro inside their charging case. Make sure the case is charging and open the lid. Now, locate the small button on the back of the charging case. Press and hold this button for about 15 seconds or until the LED indicator on the front starts flashing amber and then white. This action clears any stored connections and returns the earbuds to factory settings.
Step 3: Reconnect Your AirPods Pro
Once your AirPods Pro are reset, you’ll want to reconnect them to your device. Open the case near your iPhone or iPad and follow the on-screen prompts to complete the reconnection. You may also refer to this link for further troubleshooting on connecting your AirPods Pro.
Troubleshooting AirPods Pro After Resetting
Even after successfully performing an AirPods Pro factory reset, some users may encounter persistent issues. Here’s how to identify and address these problems.
Diagnosing Connection Problems
If your AirPods Pro still exhibit connection issues after a reset, consider the following troubleshooting methods:
- Ensure that both the AirPods Pro and the device they’re being connected to have Bluetooth enabled.
- Check for any other Bluetooth devices interfering with the connection.
- Restart your device to clear any temporary software glitches.
By systematically analyzing each situation, you’ll likely pinpoint the cause of any lingering problems.
Audio Quality Issues
If you’re facing AirPods Pro audio issues after resetting, check the audio settings. Ensure that your audio output is correctly set and volume levels are adequate. In some circumstances, you may also want to delve into any app-specific settings that might be impacting performance, particularly for audio apps.
Updating AirPods Pro Firmware
Another potential fix is to ensure that your AirPods Pro run the latest firmware. Connect your AirPods Pro to your device, and navigate to the Bluetooth settings. You should be able to view your AirPod Pro settings and check for updates. Keeping your firmware up to date is essential for fixing bugs and enhancing functionality.

Key Takeaways
- Resetting your AirPods Pro can resolve various connection and audio issues.
- Always unpair your earbuds before initiating a reset.
- Reconnect your AirPods Pro after a reset and check for any Firmware updates.
FAQ
1. How do I perform a factory reset on my AirPods Pro?
To perform a factory reset on your AirPods Pro, place them in the charging case, keep the case lid open, then press and hold the button on the back for about 15 seconds until the LED indicator flashes amber, and then white.
2. Why are my AirPods Pro not connecting even after resetting?
If your AirPods Pro aren’t connecting after a reset, check if Bluetooth is enabled on your device. Additionally, ensure there are no conflicting connections with other Bluetooth devices.
3. What should I do if my AirPods Pro still experience audio quality issues after resetting?
After a reset, if there are still audio issues, check your audio settings and volume levels. Also, consider checking for firmware updates to ensure optimal performance quality.
4. Can I reset my AirPods Pro without the charging case?
Unfortunately, the reset process for AirPods Pro requires the charging case, as the case is integral to the reset mechanism.
5. What are some common fixes for AirPods Pro issues?
Common fixes for AirPods Pro issues include resetting the earbuds, ensuring Bluetooth is enabled, unpairing and repairing, and checking for firmware updates.